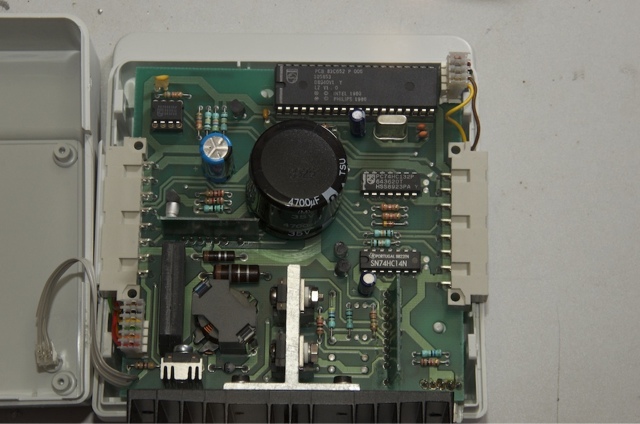
I've been busy trying to repair a Märklin base station for a friend; strange enough, the device is meant to be used for 2-rail DC systems instead of Märklin's own 3-rail AC system.
It stems from the early area of digital railroading, when Märklin to collaborate with Lenz and Arnold to market a universal system.
The device is quite sophisticated: a philips microcontroller, and some special darlington transistors for the heavy lifting (the builtin booster).
The device I repaired seemed to be an early version; I came across a later model on eBay, and they differed in quite a few aspects.
The old model had only the Philips Microprocessor, while the newer version had an extra EPROM.
The versions printed on the processors were also quite interestin: the old one said 'LZ v1.0', but the new one said 'LZV 4.1 (c) LENZ'. And 'LZV' is the type of Lenz's own base stations. So I wonder about the innards of the software, and whether it works with other DCC equipment. When I manage to get some other modules to connect it with, I will do some more experiments.
My personal experiences with model railroading: designing, building, scenery, electronics, computer control.
donderdag 10 januari 2013
maandag 19 september 2011
Digital control panels?
When you use a computer interface to control the model layout, what use are control panels?
Well, for testing and 'local control' these panels turned out to be indispensable, so I have built a few of them, spread out over each part of the layout.
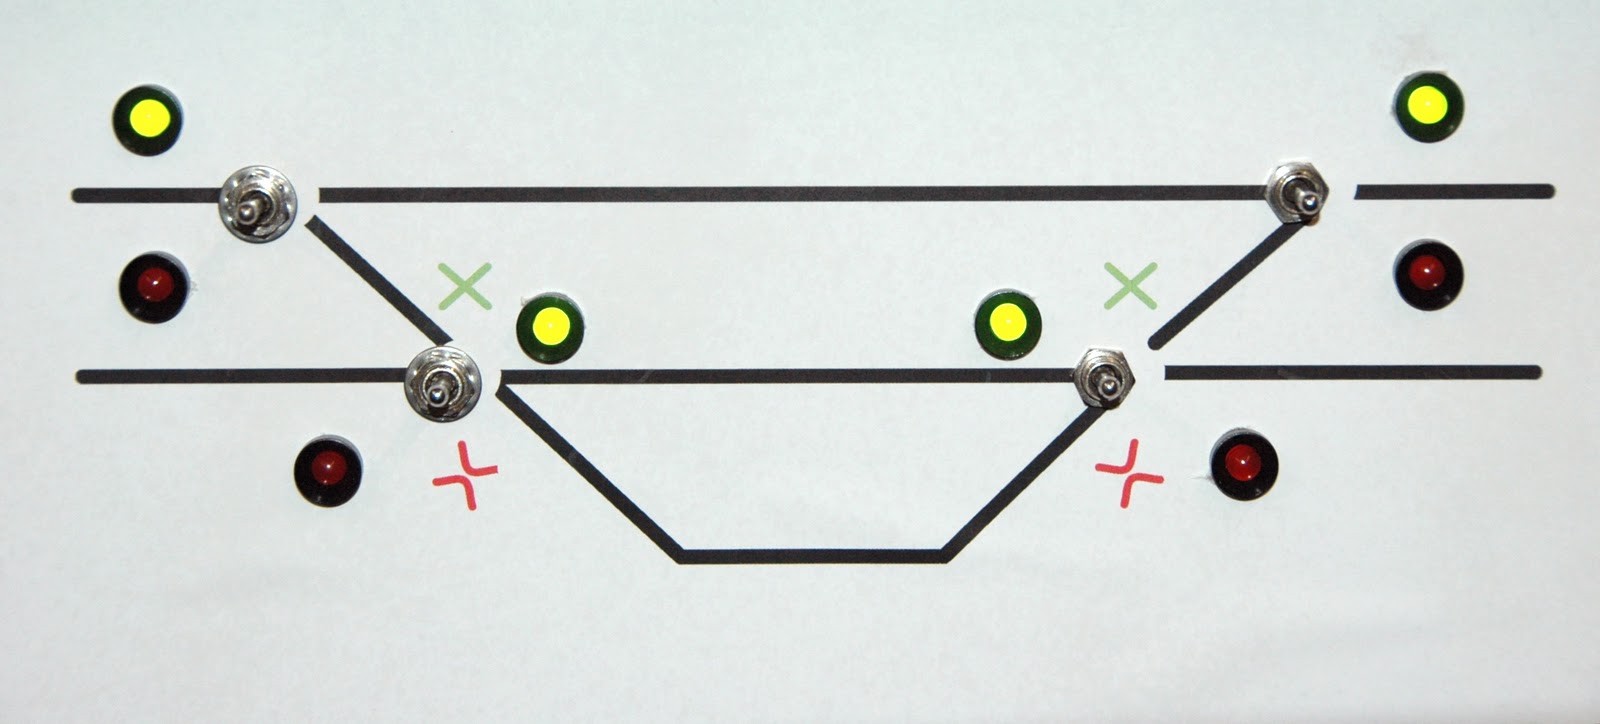
This one I built with the classical toggle switches (on-off-on or sp-dt), and LEDs to show the current position. This is a simple station with one side-track, but with crossover turnouts, so the trains can change to either of the two tracks.
For this I used pushbutton switches with built-in LEDs, this way I only needed one hole for both switch and indicator. The 5 LEDs next to the turnouts are used to denote the position of the signals.
The two switches on the bottom were used to control the light on the station and platform.
Well, for testing and 'local control' these panels turned out to be indispensable, so I have built a few of them, spread out over each part of the layout.
This one I built with the classical toggle switches (on-off-on or sp-dt), and LEDs to show the current position. This is a simple station with one side-track, but with crossover turnouts, so the trains can change to either of the two tracks.
For this I used pushbutton switches with built-in LEDs, this way I only needed one hole for both switch and indicator. The 5 LEDs next to the turnouts are used to denote the position of the signals.
The two switches on the bottom were used to control the light on the station and platform.
maandag 22 augustus 2011
ESU Lokpilot DCC V4.0
For some obscure reason, ESU has decided to change the structure of their LokPilot decoders radically, so that it is impossible to program them in any 'upwards-compatible' way. They are using 'indexed' CV's, which means you first program a CV to get to the bank of CVs you need, and the program these. The range of CVs leads to the 300-500 range, so doing this by hand is neigh impossible. IMHO this is a a bit over the top, there was plenty of room in the lower CVs to spare (CV 133-245 are still unused).
I have been watching JMRI's decoderpro pages to see if anyone had been working on a template on this, and I found the following:
- The LokSound V4.0 was included in the 2.12 release
- There was a 'work in progress' file for a LokPilot DCC v4.0 decoder
Using this, I got the decoder working, but there were still issues.
I have been watching JMRI's decoderpro pages to see if anyone had been working on a template on this, and I found the following:
- The LokSound V4.0 was included in the 2.12 release
- There was a 'work in progress' file for a LokPilot DCC v4.0 decoder
Using this, I got the decoder working, but there were still issues.
Abonneren op:
Posts (Atom)